Easy Glossy Marshmallow Frosting: Your Secret to Dramatic Cakes
Tired of the same old buttercream? While beloved, traditional frostings sometimes lack that certain *je ne sais quoi* to truly elevate a dessert from delicious to dramatic. Enter the glorious, glossy, and surprisingly simple
marshmallow frosting recipe. This ethereal topping isn't just a delight to the palate; it's a visual showstopper, promising to transform your cakes, cupcakes, and pies into edible works of art. Forget store-bought marshmallow fluff – creating this homemade marvel is easier than you think and infinitely more rewarding. Get ready to add a serious dose of whimsy and elegance to your baking repertoire!
Unveiling the Magic: What is Marshmallow Frosting?
At its heart, this particular style of marshmallow frosting is a beautiful evolution of
Swiss meringue. Unlike raw Italian meringue or the more straightforward French meringue, the Swiss method involves gently heating egg whites and sugar over a double boiler before whipping. This crucial step serves several purposes: it ensures the sugar fully dissolves, preventing a grainy texture; it gently "cooks" the egg whites, making the frosting safer to consume; and it creates an incredibly stable base that whips into a luxuriously glossy, fluffy, and pipeable frosting.
The result is a light, airy, and wonderfully sweet frosting that captures the essence of a toasted marshmallow, even before you bring out the torch. Its distinct characteristics set it apart from other frostings:
*
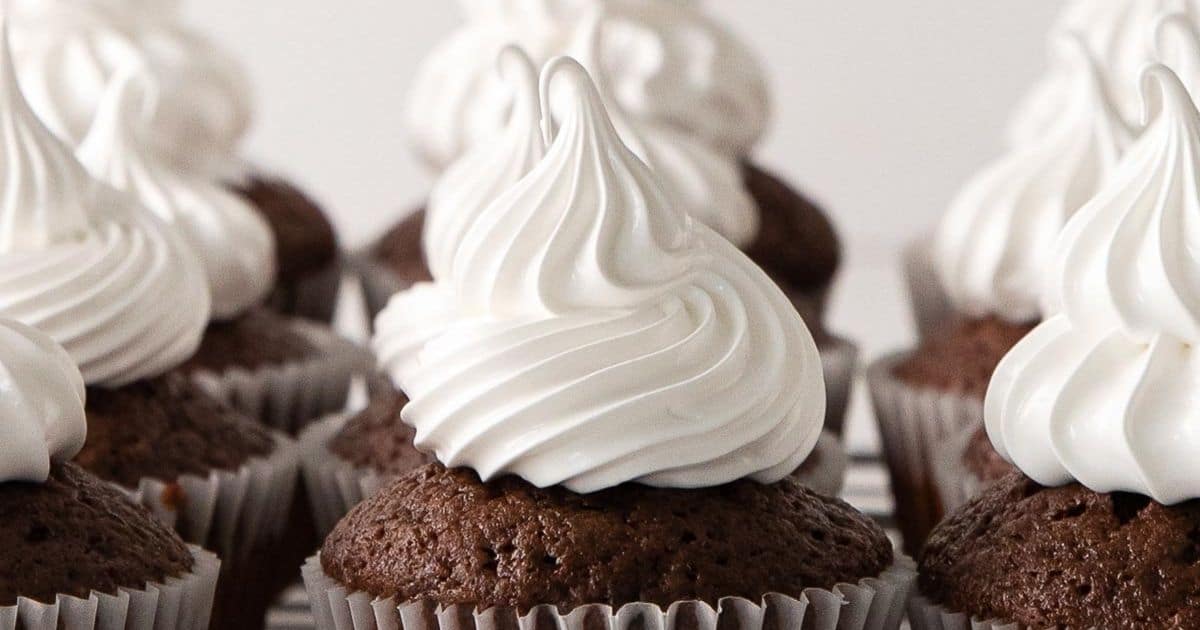
Glossy Sheen: A hallmark of Swiss meringue, this frosting boasts an impressive, mirror-like finish that catches the light beautifully.
*
Light & Airy Texture: It's far less dense and buttery than traditional buttercreams, offering a delicate counterpoint to rich cake layers.
*
Stable Structure: Perfect for intricate piping work or creating dramatic swoops with a spatula, it holds its shape remarkably well.
*
Pure, Sweet Flavor: With quality vanilla, it delivers an authentic marshmallow taste that's both comforting and sophisticated.
This versatile frosting isn't just for topping cakes; it's also fantastic for filling macarons, adding a cloud-like layer to tartlets, or even as a unique pie topping. Its light character makes it a superb choice when you want sweetness without overwhelming the underlying dessert.
The Essential Ingredients for Your Perfect Marshmallow Frosting Recipe
Creating this spectacular frosting requires just a handful of simple ingredients, each playing a vital role in achieving that signature glossy texture and delightful flavor. Don't underestimate their combined power!
Egg Whites: The Foundation of Fluffiness
You'll need a total of
eight large egg whites for this recipe. When separating eggs, it's often easier to do so when they are cold, as the yolks are firmer and less likely to break. However, once separated, allow the egg whites to come to *room temperature* before you begin. This seemingly small step is crucial, as room temperature egg whites whip up with far greater volume and stability than cold ones, leading to a lighter, more voluminous frosting. Be meticulously careful to ensure absolutely no trace of yolk makes its way into your whites, as fat can prevent them from whipping properly.
Granulated Sugar: For Shine and Structure
For that pristine white color and incredible glossy finish,
granulated sugar is your go-to. Its fine crystals dissolve readily when heated with the egg whites, which is key to preventing any grittiness in your final frosting. While you might be tempted to experiment, brown sugar, for instance, would yield a distinctly different "sea foam" frosting with a caramel hue and flavor, departing from the classic marshmallow profile we're aiming for here. The sugar not only provides sweetness but also contributes significantly to the meringue's stability and body.
Cream of Tartar: The Meringue Stabilizer
A pinch of
cream of tartar is your secret weapon for a robust and reliable meringue. This natural byproduct of the winemaking process acts as a stabilizer for egg whites, helping them achieve maximum volume and encouraging them to hold their shape once whipped. It prevents the egg whites from collapsing and ensures your frosting remains firm and pipeable. If you're ever in a pinch without cream of tartar, a very small amount of lemon juice or white vinegar can offer similar, though often less potent, stabilizing effects.
Pure Vanilla Extract: The Flavor Punch
While the star ingredients create the texture, it's
pure vanilla extract that imbues this frosting with its quintessential marshmallowy aroma and taste. Don't skimp here – opting for the best quality pure vanilla extract you can find will make a noticeable difference in the final flavor profile. Avoid imitation vanilla if possible, as it lacks the complex, rich notes that real vanilla brings to the table. Two generous tablespoons ensure a wonderfully fragrant and authentic marshmallow experience.
Mastering the Technique: From Simple Steps to Stiff Peaks
Creating this glossy marshmallow frosting hinges on two primary steps, each vital for a flawless finish. Once you understand the *why* behind each action, you'll find the process incredibly straightforward and rewarding.
Step 1: Gentle Cooking for a Grain-Free Finish
The first step involves a gentle cooking process over a double boiler. Combine your room-temperature egg whites, granulated sugar, and cream of tartar in a heatproof bowl. Place this bowl over a saucepan of simmering water, ensuring the bottom of the bowl does not touch the water. Whisk continuously – not vigorously, but steadily – until the sugar completely dissolves. You'll know it's ready when you can rub a small amount of the mixture between your thumb and forefinger, and feel no grittiness. This process typically brings the mixture to a safe temperature (around 160°F or 71°C if you're using a thermometer, though dissolving sugar is the primary indicator), eliminating any concerns about raw egg whites and setting the stage for a silky-smooth frosting. Remove the bowl from the heat as soon as the sugar is dissolved to prevent scrambling the eggs.
Step 2: Whipping to Ethereal Perfection
Immediately transfer the warm egg white mixture to the bowl of a stand mixer fitted with the whisk attachment (or use a hand-held electric mixer). Begin whipping on low speed for a minute or two to cool the mixture slightly, then gradually increase the speed to medium-high. This is where the magic truly happens! The mixture will transform from a translucent liquid to a voluminous, opaque white meringue.
The critical stage you're aiming for is
stiff peaks. This means the meringue is whipped to a point where it holds its shape perfectly. To test, lift the whisk from the mixer: if the peak that forms on the whisk stands straight up without curling over, you've hit the sweet spot. The meringue should look wonderfully glossy and feel sturdy. This process usually takes about 7 minutes, but always trust your eyes over the clock. Over-whipping can dry out the meringue, making it crumbly, while under-whipping will result in a soft, unstable frosting. For a deeper dive into achieving this crucial consistency, check out our guide on
How to Make Perfect Stiff Peak Marshmallow Frosting.
Elevate Your Desserts: Application, Toasting & Storage
Once you've mastered your
marshmallow frosting recipe, the possibilities for application are endless. Its robust structure and beautiful sheen make it ideal for a variety of decorative and delicious uses.
Piping and Spreading: Get Creative
The stability of this marshmallow frosting makes it a dream for piping. Fit a piping bag with your favorite nozzle – a large round or star tip works beautifully – and create elegant swirls on cupcakes, intricate borders on cakes, or delicate dollops on tarts. For a more rustic yet equally dramatic effect, use an offset spatula to create sweeping, artistic swoops and peaks across the top and sides of a layer cake or a lemon meringue pie. Its ability to hold shape means your designs will stay picture-perfect.
The Toasted Marshmallow Effect: A Showstopper
For an extra layer of flavor and visual flair, transform your frosting into a toasted marshmallow masterpiece. This is where the kitchen torch comes out! After piping or spreading your frosting, gently brulée, or caramelize, the surface with a kitchen torch. Hold the torch several inches away from the frosting initially, using sweeping motions to apply heat evenly. Gradually move closer and increase the heat until you achieve your desired golden-brown char. The caramelized sugar adds a complex, smoky-sweet note that perfectly complements the fluffy meringue beneath. It's an instant way to add a "wow" factor to any dessert, reminiscent of campfire s'mores. Learn more about this technique in our article,
Toasted Marshmallow Frosting: Elevate Your Desserts.
Storage and Best Enjoyment
While this marshmallow frosting is undeniably delicious, it's truly at its peak when enjoyed fresh. Ideally, baked goods topped with this frosting are best savored the day they are made. If you need to store them, they can remain at room temperature for up to 6 hours. For longer storage, refrigerate frosted items in an airtight container for up to 2 days. The same applies to any leftover frosting: store it in an airtight container in the refrigerator for up to 2 days. We do not recommend freezing marshmallow frosting, as the delicate structure of the meringue can break down upon thawing, resulting in a watery, separated consistency that loses its characteristic fluffiness and gloss.
Conclusion
From its humble ingredients to its dramatic presentation, the homemade
marshmallow frosting recipe is a true game-changer for any home baker. Its glossy finish, light texture, and incredible versatility offer a refreshing departure from traditional frostings, promising to elevate your desserts to new heights. Whether piped elegantly, swooped dramatically, or toasted to golden perfection, this frosting is sure to impress. Don't shy away from its meringue roots – with a little patience and attention to detail, you'll be creating show-stopping cakes and cupcakes that look as good as they taste. Give this recipe a try, and prepare to fall in love with your new favorite frosting!